Converting X-Ray Images into JPEG

While out scouting a rapid on the North Fork of the Stanislaus in California I decided to take a closer look at the rocks down below by flinging my body rapidly face first into them.  Some people might have mistaken this action for slipping.  While doing so I twisted my middle finger and it has been swollen ever since.  Hasn’t bother me much but my doctor thought I should get it x-rayed to be safe.

One-finger salute X-Ray. There was no fracture.

This is how I came across a CD full of hand x-rays.  Now most people would use a standardized format that everyone can understand.  Being the medical field they have their own format to encapsulate standard formats and make them unreadable.  All of these files had a ‘dcm’ extension, which means they contain DICOM image files.  A quick search online turned up several suggestions on how to convert the file and none of them worked.

Using the unix “convert” command might have worked, but there seems to be problems if a loss less JPEG is encapsulated in the DICOM file.  A bit more searching and I found out about dcmtk which is an open source project for reading and modifying these files.  It provides several functions, such “dcm2pdf” or “dcmdjpeg” but these won’t create a jpeg directly.  The command ‘dcmdump’ shows information on the file and verified that it was in fact in lossless jpeg format.  To extract a readable image from the DICOM file, follow these steps in Linux:

  1. install dcptk
  2. dcmdump INPUT.dcm
  3. dcmdjpeg INPUT.dcm OUTPUT.dcm
  4. dcmp2pgm OUTPUT.dcm image.pgm

The second step verifies which image format is encapsulated and is used to determine which dcmd* command should be invoked.  The third step converts the jpeg encoded DICOM into a standard format DICOM file.  The fourth step converts the DICOM file into a ‘pgm’ file.  The pgm file can be viewed in most graphics program and can be easily converted into a jpeg file.  To the right is one of the extracted x-ray images.


Programming in PostScript


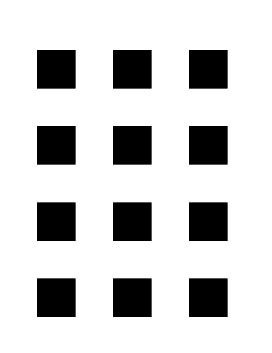
Calibration target created using PS. Corners are detected and at a known distances apart, allowing intrinsic camera parameters to be determined.

Recently I needed to design and create a calibration grid for calibrating a camera.  The calibration grid was going to be very simple, just composed of squares, but their locations needed to be precise.  I couldn’t just slap something together in power point and call it good enough.

After considering a few options, I decided to give writing my own PostScript (PS) document from scratch a try.  PS is a document standard best known for printers.  Almost all laser printers can print PS documents.  If you have ever looked at a PS document as raw text you know it’s ugly.  Turned out to not be all that bad to work with after all.

PS is in fact a real programming language and is Turing complete.  Someone has even coded up the game of life, which you can run on your favorite or not so favorite printer!  Once you get used to how PS loads everything from the stack, it’s not all that bad of a scripting language.

The two tutorials/documents which I found useful are:

Less than two hours after I started I now know the basics of PS and created the PS document below.  See in line comments for explanation of the code.

%!PS
% paper size
/pagewidth 8.5 72 mul def
/pageheight 10 72 mul def 
 
% ----- Define centimeter
/cm {28.346 mul} def
% ----- square width
/w {3 cm} def
/ww {w 2 mul} def
/r {w 2 div} def
% ----- Define procedure for drawing a box
/box {w 0 rlineto 0 w rlineto -1 w mul 0 rlineto closepath} def
 
% take in account the size of a square
/pagewidth pagewidth ww sub def
/pageheight pageheight w sub def
 
% draw all the boxes it can across a single row
/rowboxes {w ww pagewidth {newpath y moveto box fill} for} def
 
% increments the y variable and draws all the rows
w ww pageheight { /y exch def rowboxes } for
 
showpage